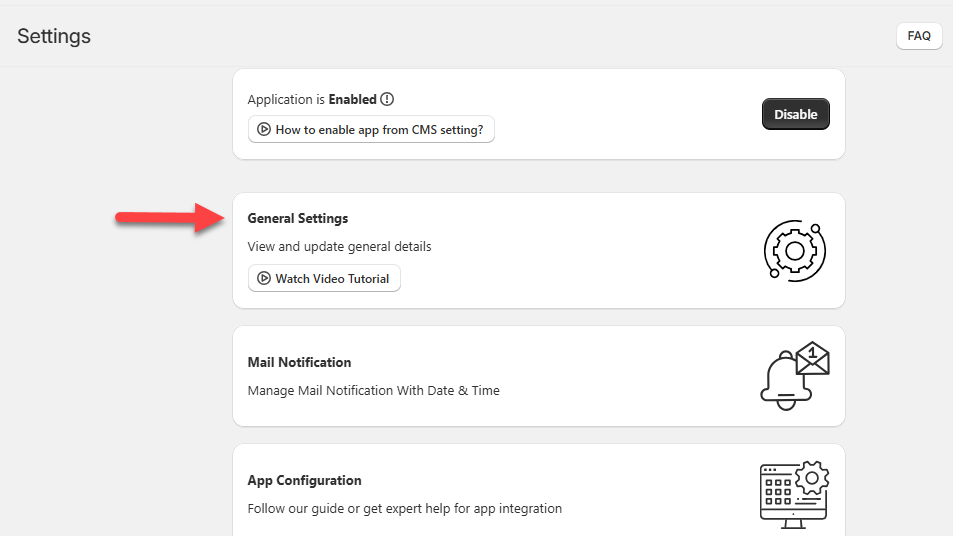
- You can view and update general configuration settings through this section.
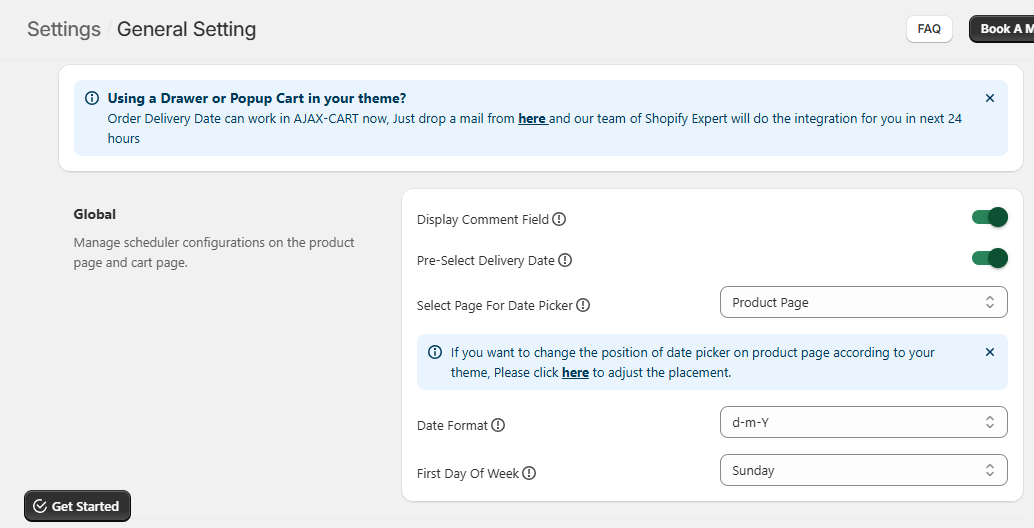
Global
Step 1 : Display comment field – Toggle to Enable if you want to display a Comment box on the product page or cart page, so that customers can add some notes or instructions related to delivery or else you can Disable.
Step 2 : Pre-select delivery date – Toggle to Enable, to display the available delivery date picker so the end customer can pre-select the delivery date.
Step 3 : Select page for date picker – There are two options available :
- Cart Page – Select this option to provide a Date Picker section for delivery on cart page.
- Product Page – Select this option to provide a Date Picker section for delivery on the Product page.
Step 4 : Date Format – In this section you have to choose the date format from the given list.
Step 5: First day of week: The first day of the week will be displayed in the calendar as per the selection here. For instance, “Monday” has been selected; then in the front store, would be starting from “Monday”.
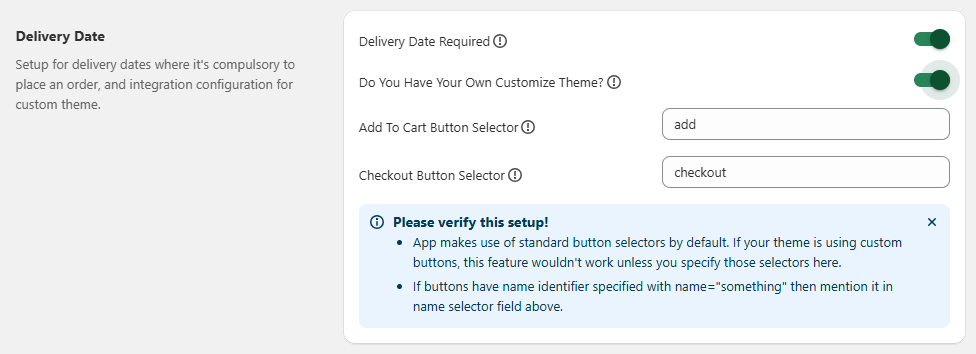
Set up Delivery Dates
Step 1 : Delivery Date Required – When Enabled customers will not be able to proceed to checkout without delivery date selection.
Step 2 : Do you have your own customized theme? – When enabled, we will be requiring your customized name attribute value for add to cart & checkout button to place our delivery date picker properly :
- Add to Cart Button Selector : You need to enter the add to cart button name attribute value here.
- Checkout Button Selector : You need to enter checkout button name attribute value here.
Set up Delivery Slots
Step 1: Time Format – Select a time format by clicking on either the 12 hours or 24 hours option.
Step 2: Select time to hide time slots :
- If you select the start time, then the time slots will disappear based on the start time of the particular slot.
- If you select the end time, then the time slots will disappear on the end time of that particular slot.
- For example,
- There is one slot for 6 PM -7 PM time hence the slot will hide at 6 PM, if you have selected Start Time option. It will hide at 7 PM if you have selected End Time.

Set a Delivery Type Tab
- You can arrange the tab according to your preference. This will reflect on your shopify front store. If you are on a cart page then only you can change the sequence of tabs.

Enable Order Tagging
- Enable Order Tagging : Toggle to Enable to manage tags for orders.
- Order Tag Date Format: Select the Date format from the dropdown that you want to display in the Shopify front store.

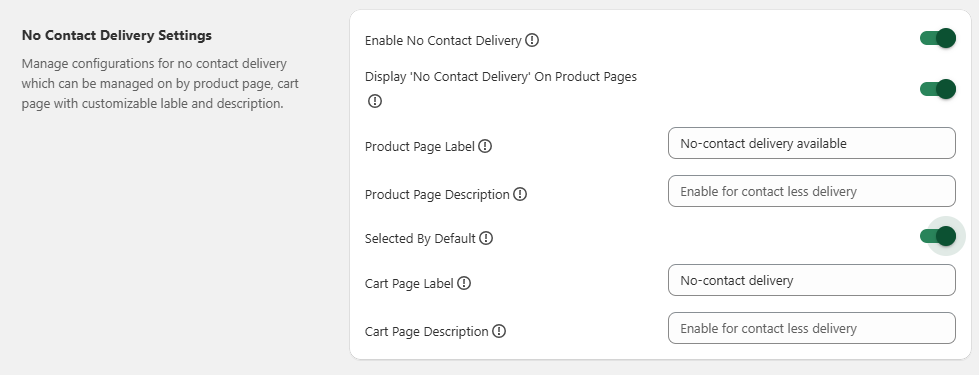
Set up No Contact Delivery Settings
Step 1 : Enable No Contact Delivery – Toggle to Enable in order to enable contactless delivery. When you disable, the preceding sections will not be displayed.
Step 2 : Display ‘No Contact Delivery’ on Product Page – Toggle to Enable to display the No contact delivery on the product page on the Shopify front store.
Step 3 : Product Page Label – You can insert the label for the No Contact Delivery which will be displayed on the product page.
Step 4 : Product Page Description – Insert the description for the No Contact Delivery which will be displayed on the product page.
Step 5 : Selected by Default – If Enabled, No Contact Delivery option will be selected by default on shopify front store.
Step 6 : Cart Page Label – Insert the label for the No Contact Delivery, which will be displayed on the cart page.
Step 7 : Cart Page Description – Insert the description for the No Contact Delivery, which will be displayed on the cart page.
Enable Email Notifications
- Notification email button : Toggle to Enable and insert your email in the “Email for Notification” section to get email notification related to delivery reschedule.

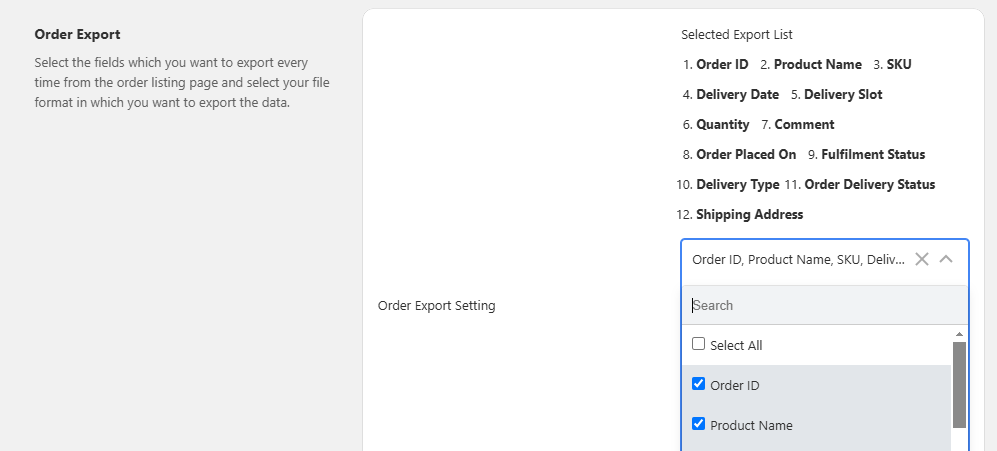
Order Export
- Order Export setting : Select the fields which you want to export from the order listing page and select your file format in which you want to export the data.
- After all the configurations, click on the Save button to save the configurations.