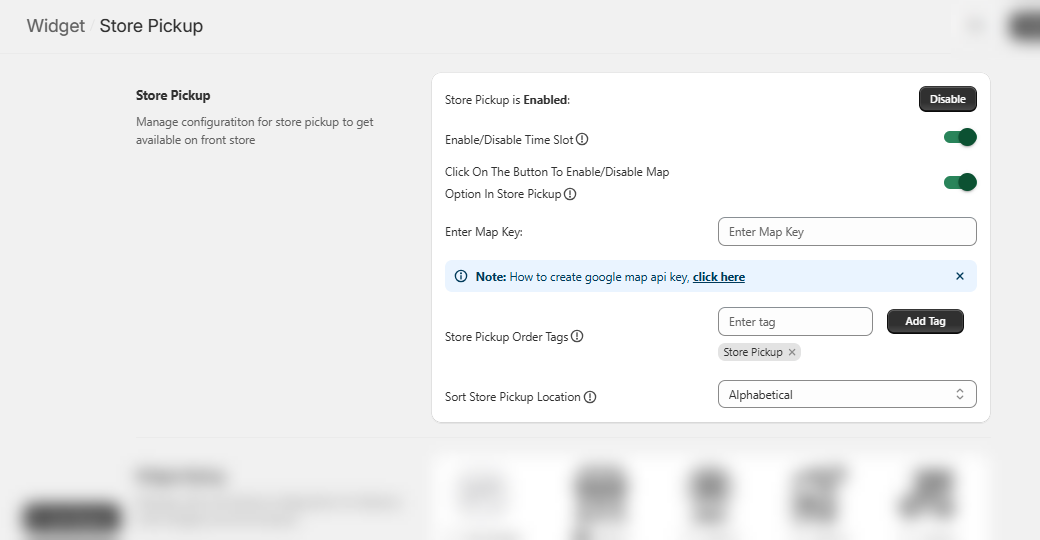
First and foremost, you need to Enable the store pickup feature; by doing so, the further configurations would be listed.
Now, Enable the Time Slot. If Map Option in Store Pickup is Enabled, a Map Key field will be displayed where you can enter the respective key.
The tag(s) entered in the Store Pickup Order Tags field will be displayed for those orders where the customers have chosen ‘Store Pickup’ as the delivery type.
You can proceed to choose the sorting of the location through Sort Store Pickup Location between Alphabetical and Manual. While selecting the latter option, all the added locations will be listed and here, you can sort according to your preferences.
The Widget Styling section contains various icons to choose from for Store Pickup along with configuring Colors for Background, Icon, Hover Background and Hover Icon.
You can even upload an image to place it as an icon.
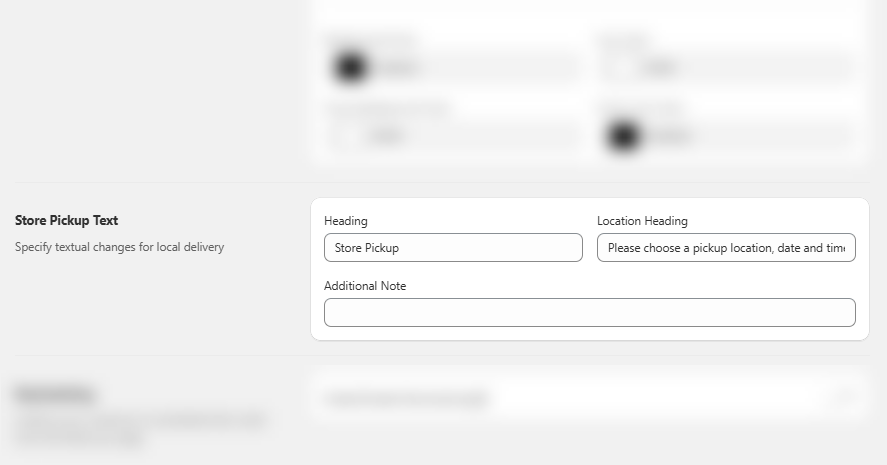
Further, proceed towards the Store Pickup Text section where you can set the Heading, Location Heading and Additional Note.
The section below contains Rescheduling configurations – an add-on feature which means it can be accessed only by paying the mentioned amount.
Enable the rescheduling feature.
Enter the text further for Reschedule Button and then add the days before which you need to close the rescheduling in Close Rescheduling Before.