In Calendar 365, admins can set the working hours of the users from the settings. Follow these elaborated steps to know how.
Login to Calendar 365
Click on the “Settings” button and navigate to the “Resource Scheduling” section. If the “Default (User Working Hours)” option is selected, the User can add the working hours from AppJetty Calendar and schedule the activity based on the Working Hours. You can also manage the working hours, break timings, and leaves in Calendar 365.
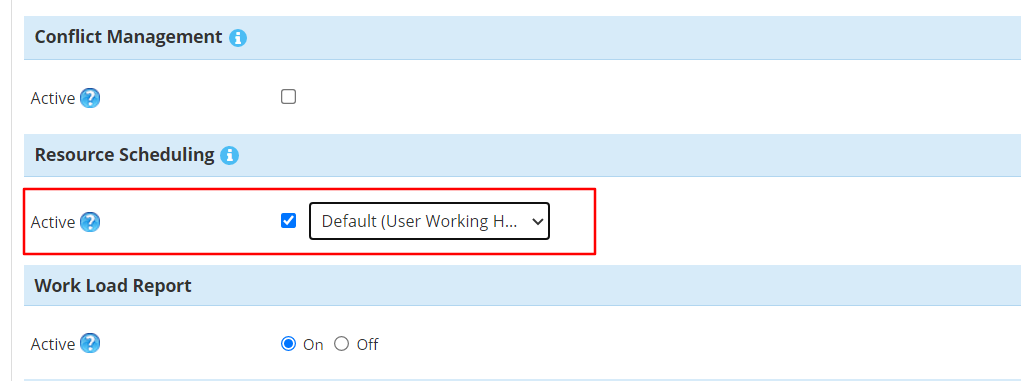
Set the Default Working Hours in CRM
To set and edit the working hours in CRM, navigate to Advanced Settings ➤ Security ➤ Users ➤ Select the user for which you want to set working hours.
Besides the Username, click on the Down arrow and select Working hours.
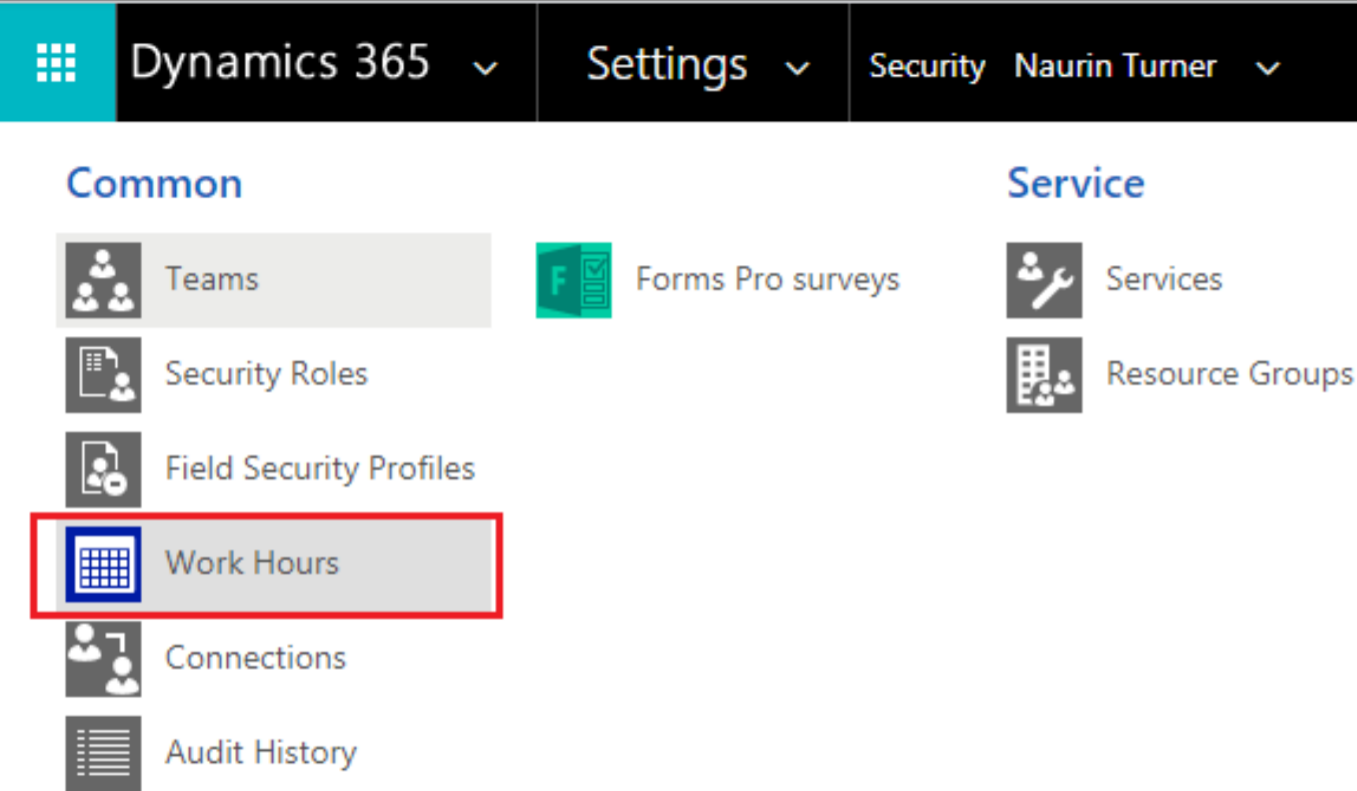
By clicking on Work Hours, the default calendar of CRM will display the records of the selected user if already inserted.
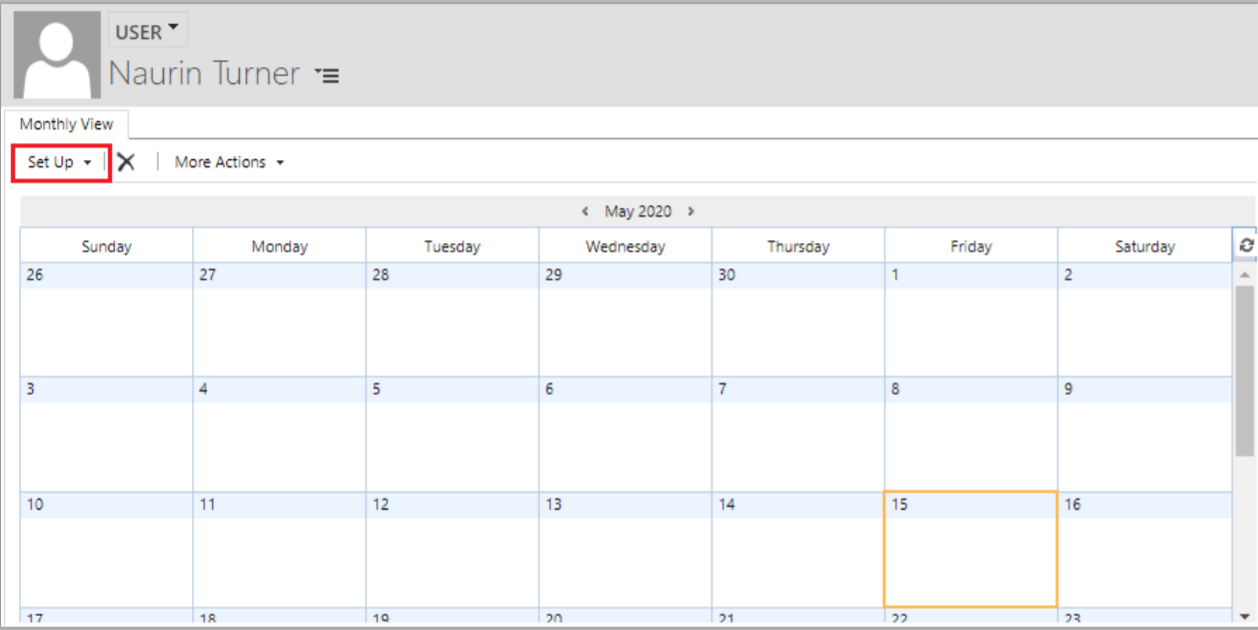
Now, by clicking on the Set Up option, you can schedule the work on a weekly basis or for one day by selecting the date.
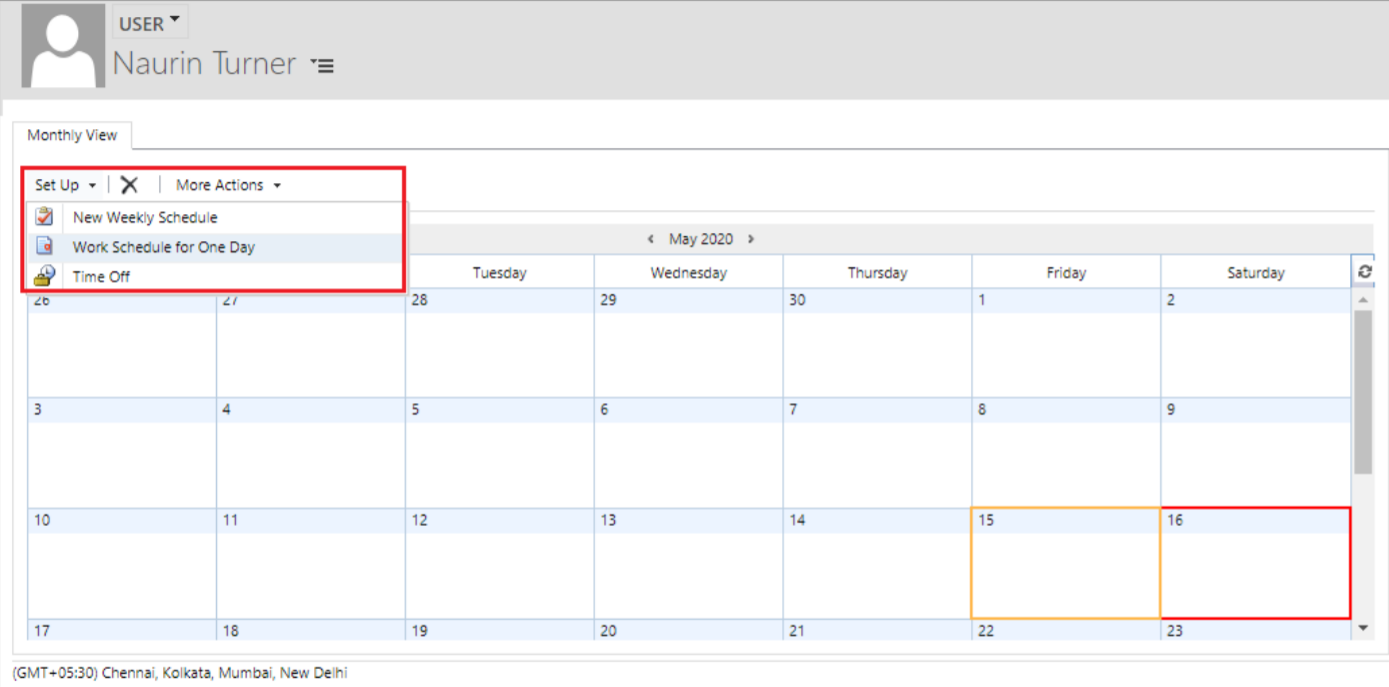
You can set the Start & End Time including the break.
Later, you can also edit and delete the scheduled work hours.
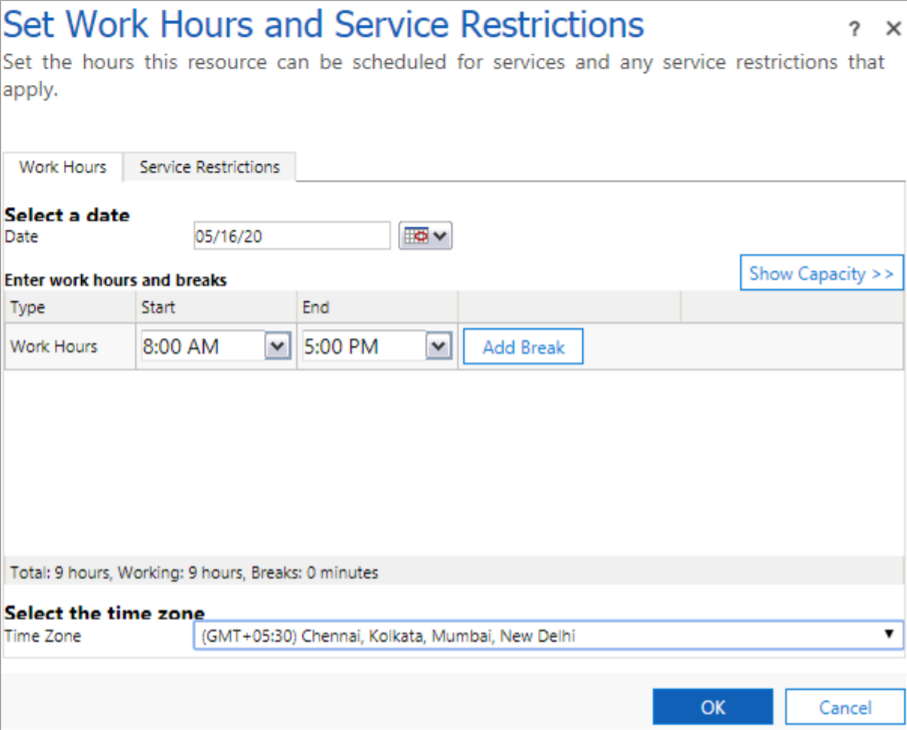
Similarly, you can schedule the work on a weekly basis by selecting the working days.
If you have selected the Default (User working hours) in the “Resource Scheduling” option, you will get the working hours on the AppJetty Calendar which is set in the CRM default calendar.
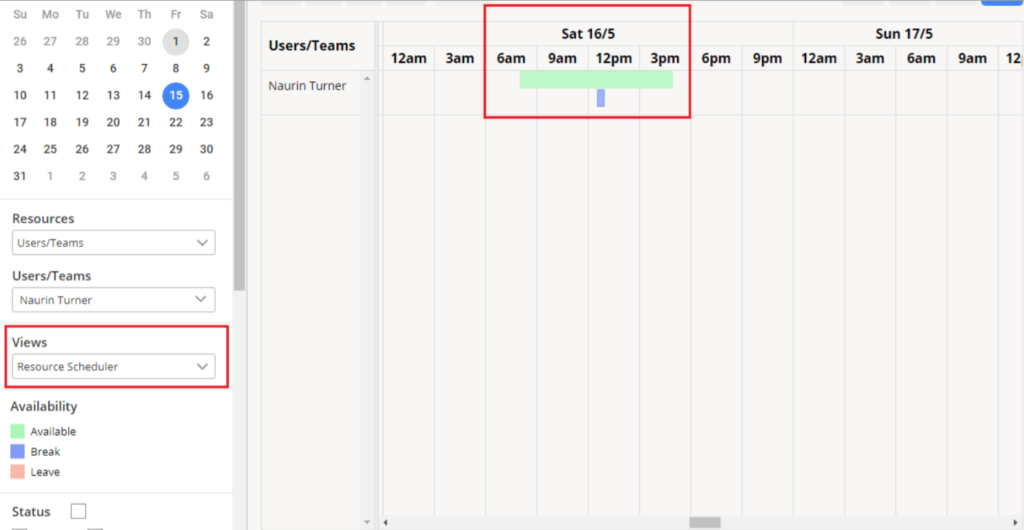
Note: You can only view the Working hours which is set in the CRM default calendar of the user.


