


In MappyField 365 you can save important or most used routes. You can also assign those routes to other users. To assign routes to another user follow the following steps:
- First of all, open the MappyField application.
- Click on the Map option on the left panel of the application.
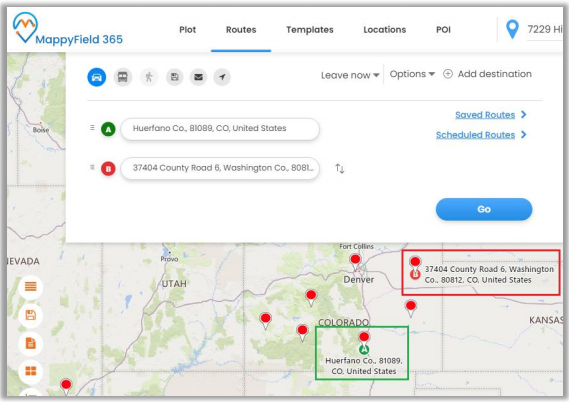
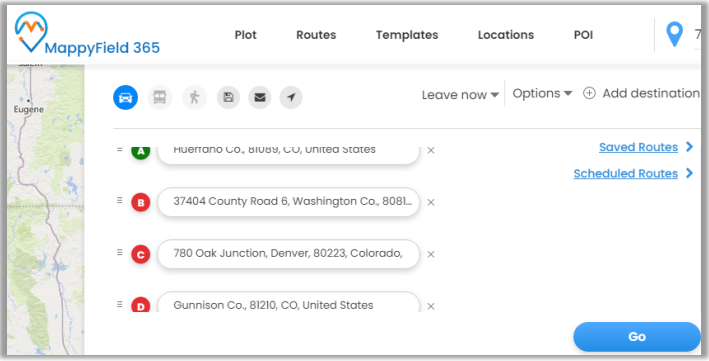
- Now select the Routes option and add Point A and Point B of the routes.
- From the Route tab, you can also add multiple addresses and get directions. You can reverse the direction by clicking on this icon ↑↓.
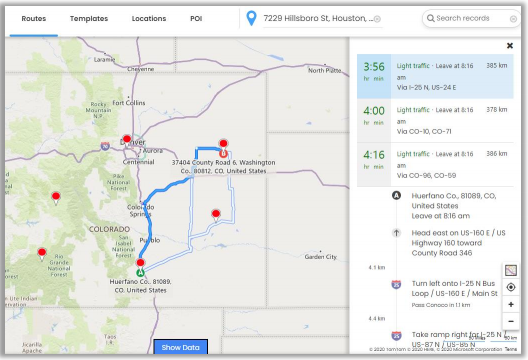
- On the Map, you will get directions based on Driving including alternate directions if any.
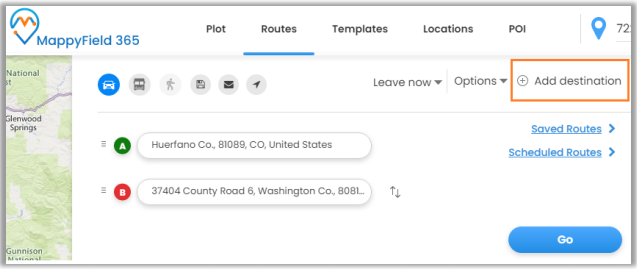
- You can add multiple-way points by clicking on “Add Destination”. You can add a maximum of 25-way points.
- Now click on the Save icon on the top to save the route.
- Also, the saved route can be used for future reference anytime.

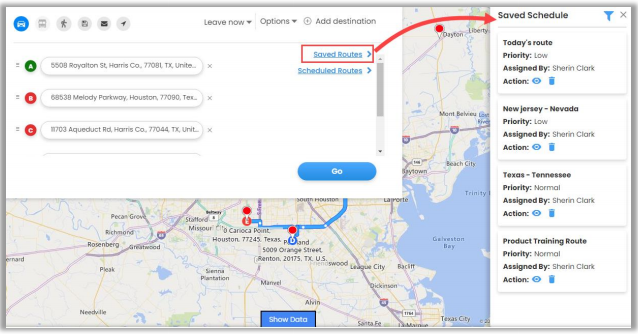
- By clicking on the Save icon, it opens a dialog box where you need to provide a name to the route and user/team name to whom the route is being assigned.
- Along with this, you can also define route dates and priorities. Priority can be set from Low, Normal, and High.
- By clicking on the Save button, you will be navigated to the Saved Schedule (Saved Routes).
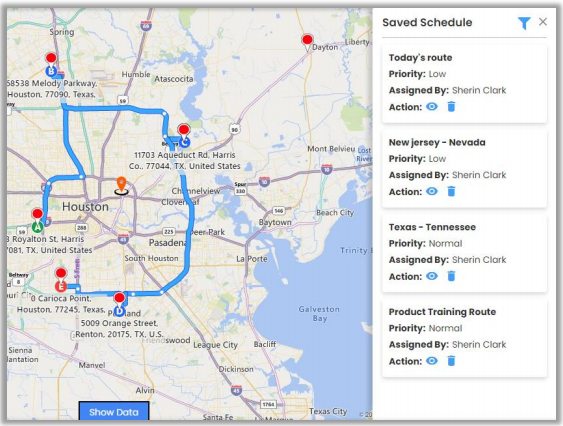
- You can preview the routes and delete any if it is not required. Routes can also be filtered based on the Start Date and End Date by clicking on the “Funnel-Type” icon.
Multiple Routes
You can add multiple routes by following the below steps.
- By clicking on any location or plotted records, click on Add to Destination to add multiple waypoints or you can add manually by clicking on the Add Destination from the ‘Routes tab’. As you add all the required locations and click on the GO button, you will get the routes based on the location of multiple waypoints.
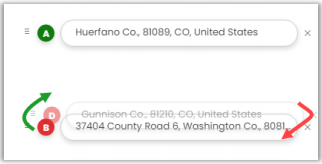
- For all the waypoints added in the route, each waypoint can be dragged to reorder their position in the route.
- After reordering the route, it will immediately reflect on the map also.
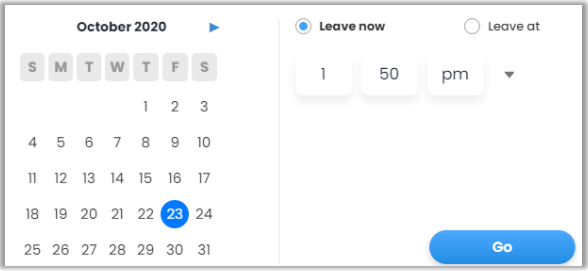
- You can select the time at which the generated route is going to be used by you.
- For that click on the Leave now option.
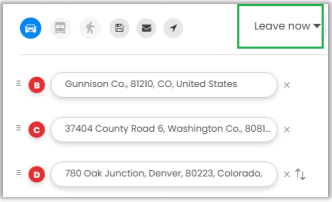
- By clicking on Leave Now, you will get Leave now, Leave at, and Arrive by options.
- Select the date and time when you want to travel.
- Arrive by option is only available when there are only Origin and Destination locations set.
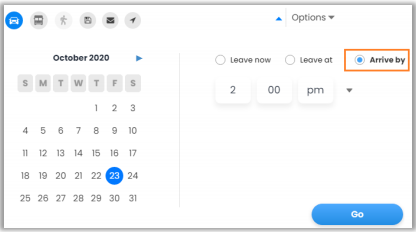
- After selecting the location between Origin and Destination, it will list all possible routes and highlight the optimized route.
- You can also get directions based on means of transport like Public Transit and Walking.
![]()
![]()