


If you want to set up entities that display in Mappyfield 365, just follow the following steps:
- First of all, navigate to AppJetty -> Entity Mappings, you will land on the “Active Map Entity” page. It will display all the entities with their relevant details on MappyField 365. From there you can add a new entity and configure its required details.
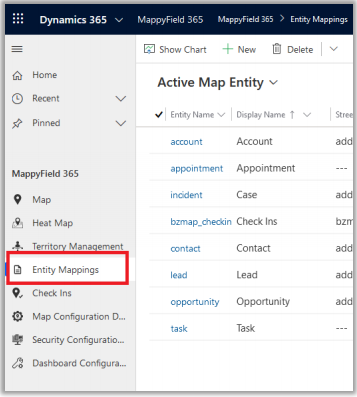
- As you click on Entity Mapping, it will show you the list of entities that are already mapped on Mappyfield 365.
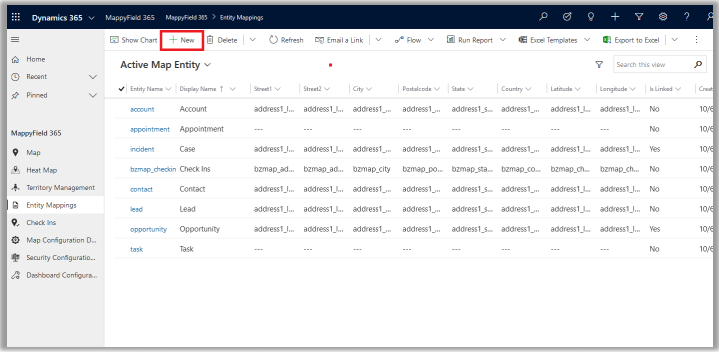
- Click on the “New” button option, which will open a new window for mapping an entity. You will be needed to fill in the following details to create a new Entity.
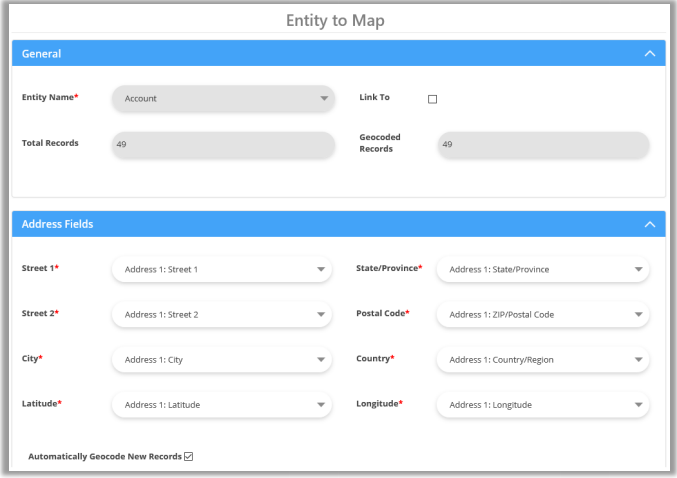
- Entity Name: Select the name of the entity you want to map from all the default entities that are present in the CRM or you can create a custom entity name.
- Link To: Check the Link To option to link the selected entity to some other entity. After checking the box, you will get a list of relationships with which you can link the selected entity.
- Activity Entities work only on Account, Contact or Lead addresses marked as regarding the address.
- Total Records: It displays how many records the entity contains.
- Geocoded Records: It displays how many records are geocoded.
- Address Fields: Select the address fields for the entity, which will be used for geocoding. By default, it will consider the map’s certain address fields. If needed they can be changed.
- Automatically Geocode New Records: If this field is selected, it will geocode the records automatically as per saving configuration.
Once you fill all these details, click on the “Save” button to save the new entity. Entities will be mapped, and success/failure messages will be displayed.